Selling on Printful is something you should consider if you seriously want to start a print-on-demand (POD) business.
Along with Spring, Printify, CustomCat and SPOD—among others—Printful remains a powerful player in the POD space.
Print-on-demand runs on a simple business model, somewhat similar to dropshipping: You have content—text, logo, picture, colors—that you display on a product and then you direct a third party—a POD platform like Printful—to handle the production, shipping and customer service on your behalf.
You can display your content on products as varied as T-shirts, mugs and towels.
Sounds interesting, right? Just chill: More tips are coming.
This article conveys everything you must know to sell on Printful—even if you don’t know a thing about the business.
To sell on Printful like a pro:
- Identify Your Niche
- Create Your Printful Account
- Link Your Printful Account to an Ecommerce Platform
- Choose Your Products
- Create Your Designs
- Add Products to Your Store
- Set Up Shipping
- Set Up a Payment Method
- Promote Your Store
Ready? Let’s dive in!
1. Identify Your Niche
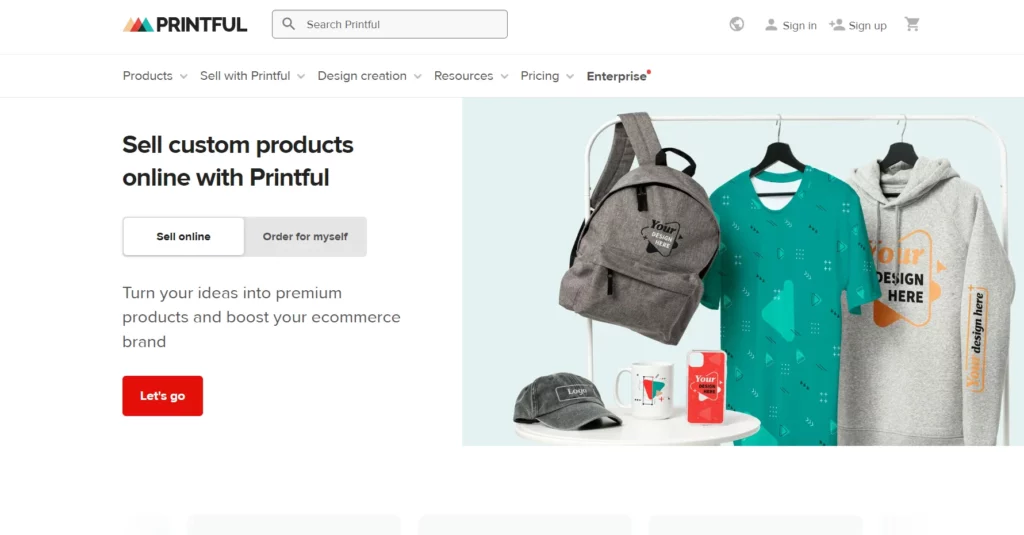
To sell on Printful, identify your place in the printing market. Some people call it “target market” or “niche.” Pay attention to two things: what to sell and whom to sell to.
Don’t list every product in your store. Studies show that businesses with niche-specific products perform better than those with generic products—even in revenue. Do your research on various niches like clothing, accessories, home appliances, etc., and decide what to sell.
Decide which population you want to target—teenagers, young adults, men, women or and religious people—so you become an authority in the marketplace. The ball is in your court.
Use specific tools such as Google Trends and Ubersuggest’s Keyword Tool to zero in on your demographics and trends.
Analyze market trends to position yourself in a market with high demand and low-to-average supply. That’s the sweetest spot to be at.
2. Create Your Printful Account
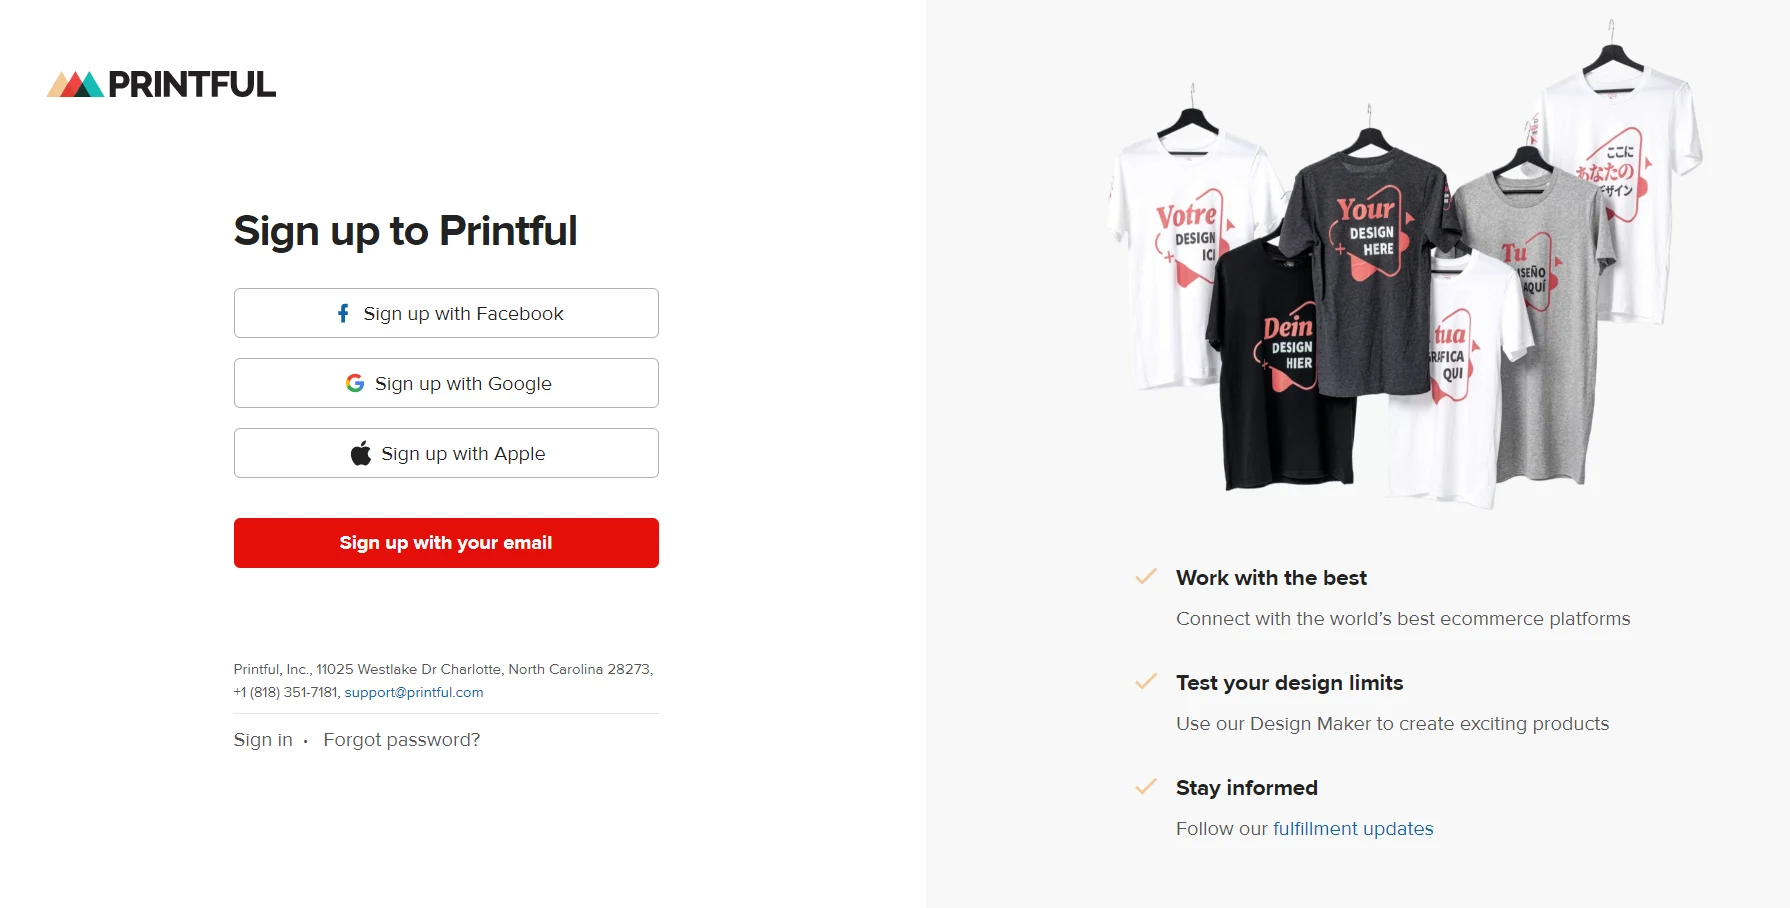
To successfully sell on Printful, create a Printful account you can later connect to your ecommerce store.
Creating a Printful account is free, and it comes with a variety of options. You can sign up with your Apple, Facebook, Google, or email account.
To sign up with your email, click the “Sign up with your email” button, enter your full name, email address, password, and tick the “I agree to Printful’s Terms of Service and Privacy Policy” and click “Sign up.” Verify your email address, and you are done.
3. Link Your Printful Account to an Ecommerce Platform
To effectively sell on Printful, link your Printful account to the ecommerce platform where you list your items for sale.
Printful gives you over 20 ecommerce platforms to choose from, including a marketplace. Note that with an ecommerce platform, your store becomes a standalone website—while with a marketplace, you create your store on that marketplace’s website.
Identify which option fits your budget and has the features that meet your business needs.
To connect your Printful account to an ecommerce platform:
- Log into your Printful account.
- Click “Stores” from the side menu on your dashboard.
- Choose and add a platform from the options displayed.
Install and link your store’s app to your chosen ecommerce platform or marketplace and your Printful account.
4. Choose Your Products

To effectively sell on Printful, choose the right products. Printful provides a wide selection of products where you can choose and make custom designs like embroidery, engraving or printing.
Alternatively, you can use any online mockup generator to create designs for your products. Again, remember that your products must be niche-related.
Choose products that are in high demand and have profit-making potential for your business. Make sure you can dropship the product to give your business room for diversification.
5. Create Your Designs
To sell on Printful, create several designs for shoppers. You have three options—DIY, Printful’s Design Maker or outsourcing.
With a DIY approach, you creatively design your products via software like Photoshop and Corel Draw. Use this method if you are a talented designer.
Otherwise, use Printful’s Design Maker, a free and easy-to-use design tool that comes with unique fonts and pre-made graphics. With this, you don’t have to create designs from scratch; you build on existing templates. You can find these features in the design tab of the Design Maker.
Note that Printful allows you to create product templates by saving your designs so you don’t lose them.
On the flip side, outsourcing can come in handy if you lack artistic and design skills. Use popular platforms like Fiverr, Upwork or Freelancer to hire competent hands who can give you unique designs—at a fee, though.
Export your files in JPEG or PNG format; this is the acceptable format for uploading into your store. Follow the design guidelines for each product.
To upload an existing design on Printful’s Design Maker, go back to your product on the Design Maker and select “Choose File,” located at the left menu where you can upload your file.
6. Add Products to Your Store

To sell on Printful, add products to your store so shoppers see your product listings and can possibly make purchases.
Printful gives you three ways to add products to your shop—through product templates, stores or any open product page.
To add products to your store:
- Choose your product colors and sizes (this depends on your demographic)—it is called “product variants.”
- Select suitable mock-ups for your store. Mock-ups give shoppers a “fantasy feeling” of what the products look like in reality.
- Write product details which include a title and thorough description to enable your customers to know more about the product. Write your product descriptions in your brand’s tone.
- Determine and set your price. Bear in mind the Printful price, which is what Printful charges you for product fulfillment, and the retail price which is the price you sell the product. If the cost of product fulfillment is $50 and your retail price becomes $70, your profit becomes $20. Do your math well before submitting your price.
Once you’ve determined your prices, click on “Submit to store,” on your Printful dashboard to include the product in your ecommerce store.
Click “Stores” on your Printful dashboard and click “View store,” your product displays with the price you set.
7. Set Up Shipping
To sell on Printful, set up shipping to determine how much to charge customers for shipping. Embed the shipping cost into your overall product price or charge the customer a separate fee for shipping—it’s up to you.
Note that shipping rates differ from one ecommerce platform to another. Speak with the platform’s Customer Service or check their FAQs to know their modus operandi.
Printful comes with two kinds of shipping rates: flat and live.
With a flat rate, you pay fixed prices for shipping that you should charge on your store. Printful considers the product weight, fulfillment location, dimensions, and shipping destination before setting a shipping price.
Printful calculates its live rates in real-time during checkout.
This option is only accessible for Printful customers using WooCommerce, Shopify or Ecwid, whereby shoppers automatically get the best rate available at the moment of shipping.
8. Set Up a Payment Method
To sell massively on Printful, set up a payment method to receive and send payments. Printful automatically creates a wallet for you to enable transactions once you sign up.
To set up a payment method, go to your Printful dashboard and click “Billing.” Select “Billing method” and set your method of payment. Printful allows payment gateways like PayPal, credit card, Klarna and other available options.
You can also fund your Printful wallet to pay for the cost of fulfillment. Go to “Billing,” choose “Printful Wallet,” click “Add money” and input the amount you want to deposit. Add money using the billing method you chose.
9. Promote Your Store
To successfully sell on Printful, promote your store to attract customers and start making sales and profit.
Use email campaigns to connect with customers and direct them to your landing page. Install email plugins to automate your email collection process so you can promote your store at a low cost. It’s cheaper that way.
Leverage your social media presence. Use your social media accounts—Facebook, Instagram, Pinterest, and YouTube—to blow your trumpet.
Create compelling content for your products. Content writing positions your brand as an authority in your niche—and also serves as a traffic-generating source that ultimately converts.
Partner with influencers within your niche. Pay to promote your products to their large fan base.
Get ready for your first sale!
Recap
To successfully sell on Printful, identify your target market and create your Printful account to enable you to sell products on Printful. Link your Printful account to an ecommerce platform and choose your products to sell.
Create unique and compelling designs and add products to your store. Set up shipping so customers can effectively ship their products.
Set up a payment method where you can send and receive payments on your Printful ecommerce store.
Finally, blow the trumpet—promote your store.
Now, go make some money!


