These days, selling on Shopify is quintessential if you want to make money online. And here’s why: A strong platform (Shopify) has built an even stronger online infrastructure, replete with templates and features—and all you have to do is set up a store, add products and do some crazy marketing to drum up business.
Is that all?
No, of course. There is more to it. Read this article to find out everything! To begin your selling business on Shopify, you need to:
- Prepare Yourself
- Choose a Name for Your Brand
- Create Your Shopify Account
- Pick a Theme and Customize Your Store
- Personalize Your Store
- Include Important Pages on Your Website
- Add Your Products
- Create Your Listings
- Select a Paid Plan
- Prepare Your Store for Launching
Now let’s dig for more!
1. Prepare Yourself
To begin selling on Shopify, figure out your business type (sole proprietorship or partnership) and time commitment (hobby, side gig, or full-time job) as well as the monetary amounts you want to dedicate to the initiative.
Draw a rough sketch of how you want to organize your store and your products by categories. Lastly, calculate the cost, and estimate your potential income to see if you can afford the business.
2. Choose a Name for Your Brand

To set up a Shopify store pick a name for your brand. Make the name short, simple, and unique. Register a domain name that is the same as your brand name. Use the right keyword for easy search engine optimization so that your customers can easily locate your store.
Use the Shopify Business Name Generator to search for a domain name of your choice if you can’t come up with an idea. Pick a brand name that has an available “.com” domain address before you finalize your brand name (because the “dot com” domain often scores higher in search engine results and most reputable brands use this domain extension). Utilize Shopify’s Domain Name Registration tool to look for available .com domains.
3. Create Your Shopify Account
To commence your journey as a seller on Shopify, create a Shopify account for yourself. Begin with a 14-day free trial period to explore Shopify plans and choose the one that fits your purpose.
Enter your email address and create your password. If you are a corporate business, provide your business address or your home address.
4. Pick a Theme and Customize Your Store
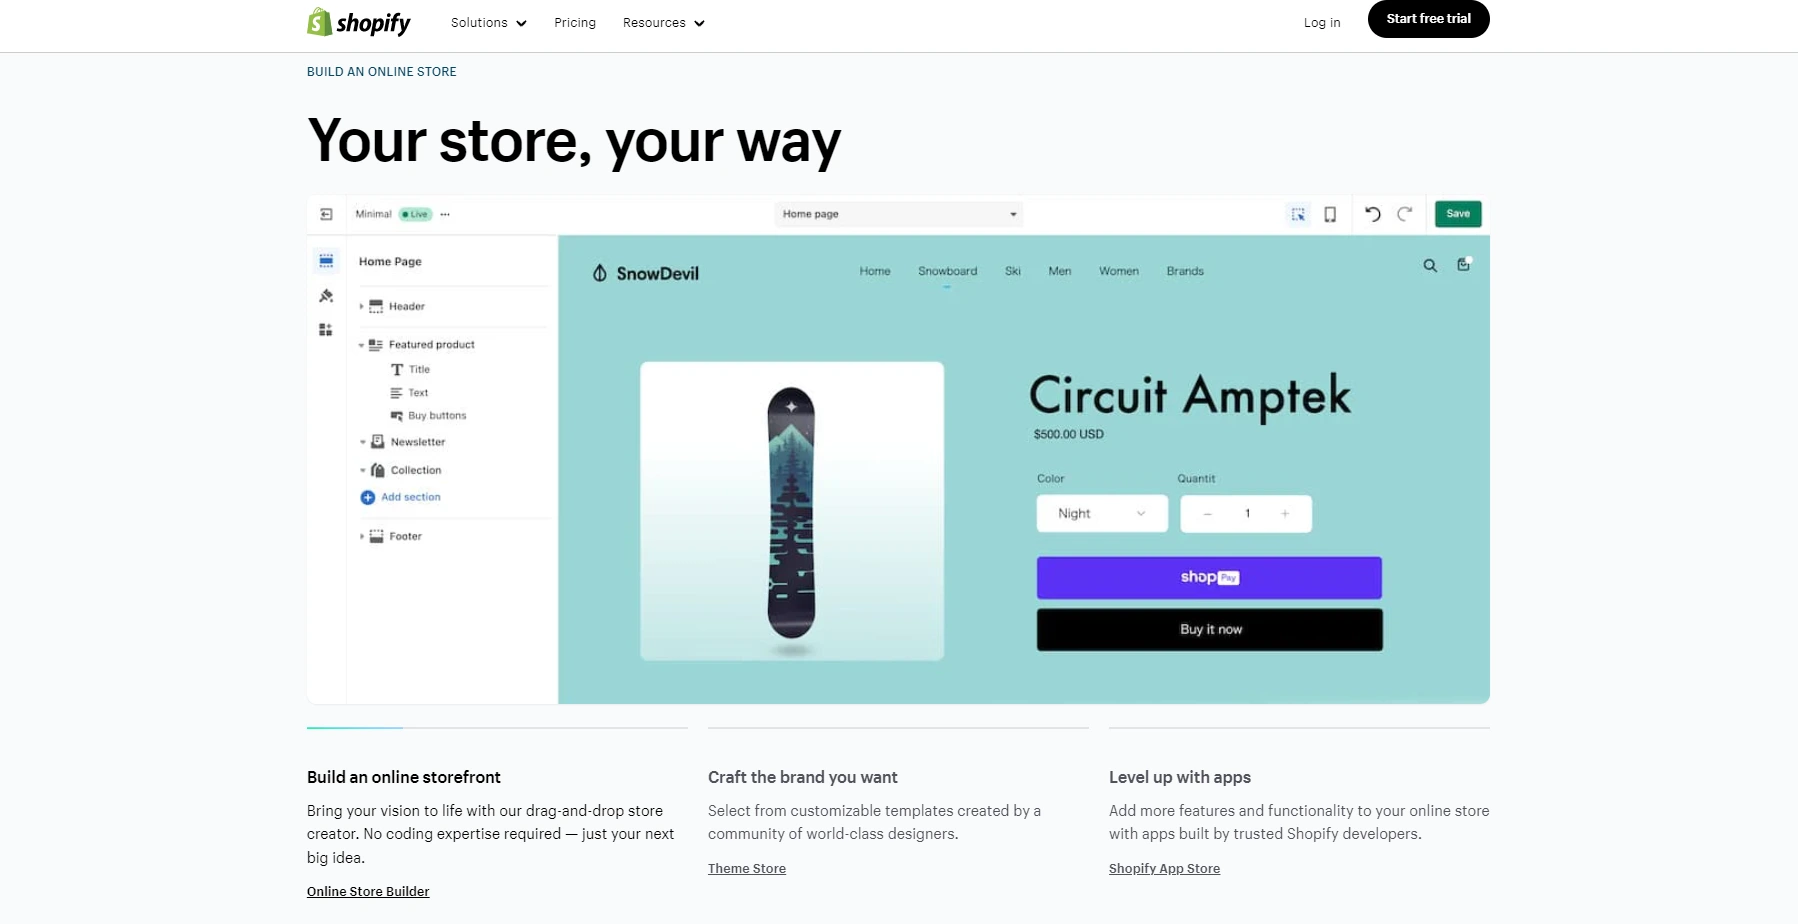
To begin a Shopify store with an attractive store, choose a good theme for your business. Build and run your store online without any technical knowledge of design or coding on Shopify. Pick free or paid Shopify themes and select clean, easy-to-use, and modern themes.
Choose themes such as Minimal, Startup, symmetry, etc., and customize the theme you choose to design your brand template, including a logo.
5. Personalize Your Store
To commence a Shopify selling business, personalize your store. Edit your store name, email, store, address, etc. Set up your payment methods to allow your customers to buy with their credit cards or Pay Pal, Meta Pay, Amazon Pay, and Apple Pay.
Complete your account setup: Fill out the product details (write the retailer of whatever product you want to sell) and the statement descriptor (just write the name of your store or company). Also, complete your checkout settings.
Change your “customer account” to optional, but when customers sign up for an account, use their information for email marketing so that you can advertise your product more to your customer and your customers can receive alerts for a new product. Click “Preselect the sign-up option,” in “customer account” to automatically integrate your registered customers for email marketing.
Change your shipping rates according to your shipping method (dropshipping or personal delivery). Utilize a lot of payment methods and gateways, such as Shopify Payment and Point of Sale (POS) systems (e.g., BitPay, Coinbase Commerce, FasterPay, etc.). Integrate various third-party apps into your store to increase conversion and drive sales. Use third-party apps such as Smile, Oberlo, Seguno, Plug in SEO, and others.
Before you begin your Shopify business, change your policies to your likings, such as Refund Policy, Privacy Policy, and Terms of Service Agreement. Don’t forget to disable your store’s password in the security section so that potential shoppers can visit your site.
6. Include Important Pages on Your Website
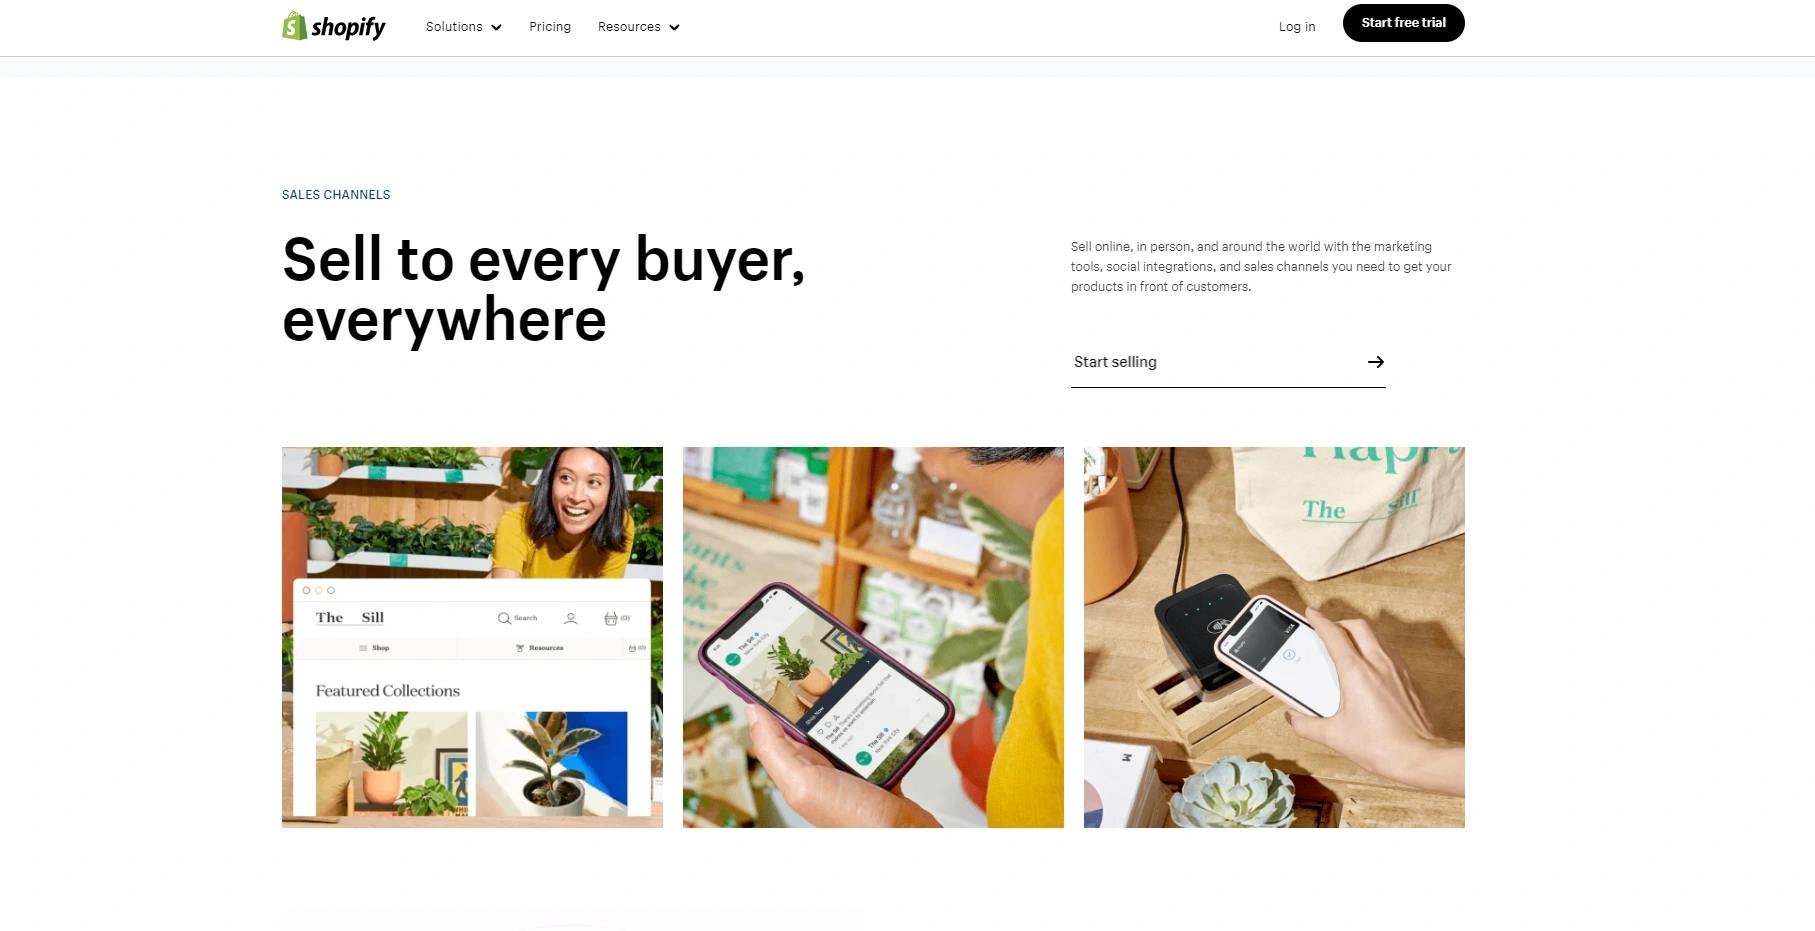
To establish your store on Shopify, add pages to your store. Add Contact pages, About us, FAQs, Privacy Policy, and Terms of service. Get in touch with your customers through the contact page and interact with them on a more personal level. Create a captivating “about page” to win your customers’ trust.
Tell them who you are and why you are running a Shopify business. Use the FAQ page to answer frequent queries from your clients. Also, add your shipping policy page. Tell shoppers the shipping duration, who delivers their shipments, and how they can track their orders.
7. Add Your Products
To sell captivating products on Shopify, create an impeccable list of products and add them to your store. Create high-quality, optimized photos for your products to increase credibility and sales. Provide your product title and description.
In your description, place the product benefits first and then the product features. Organize your store into categories, sizes, and colors so that buyers can find it. To add your products to Shopify, use the menu bar on the left side of your Shopify panel and select the product.
Then, add products to your listing. Include the name, a description note about the product, a picture, the price, and others.
8. Create Your Listings
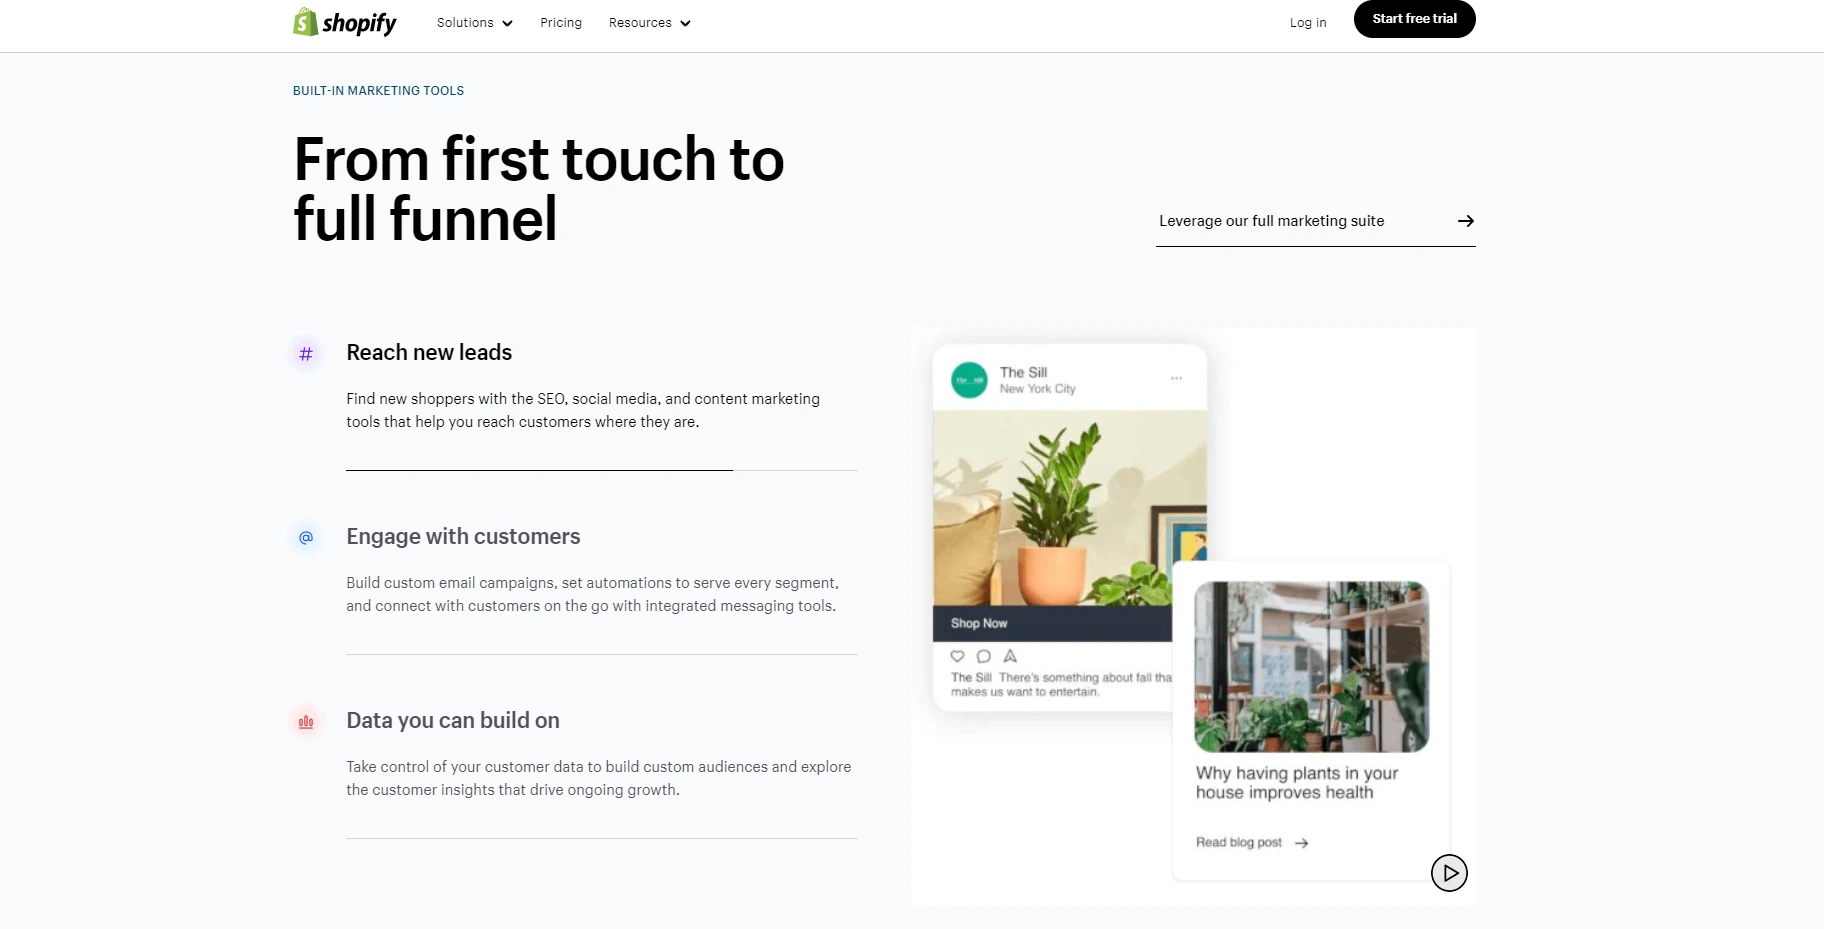
To successfully create your store on Shopify, add collections of products to your store. To do this, click “Collections” on your dashboard, then click “Create Collection.” Arrange your products according to their similarities, tags, types, vendors, etc. Shopify collection aids your customers’ buying decisions.
Not only that, but it also gives your store an attractive appearance. Choose the collection title and write out the description (e.g., men’s shoes can be a collection). You can add your collection manually or automatically. Use “collection type” under “setting” to effect the change.
9. Select a Paid Plan
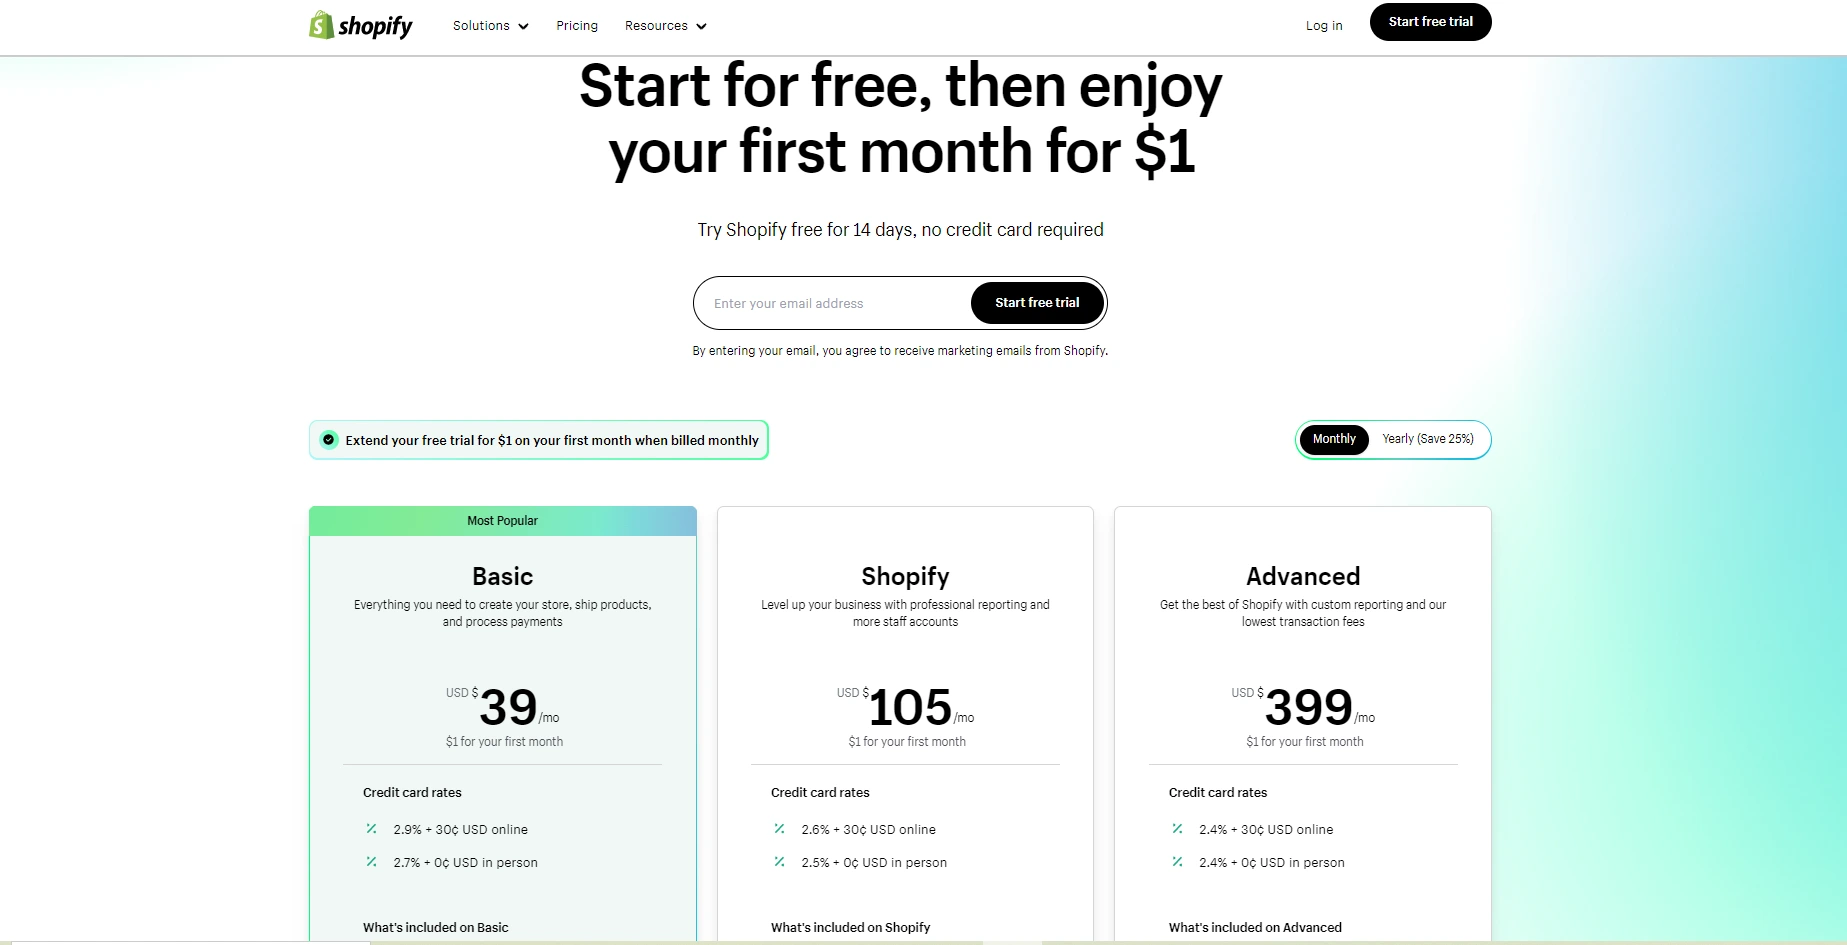
To begin making real sales in your Shopify selling business, choose a Shopify paid plan. Choose one of Shopify’s three paid plans. The plan you choose determines the Shopify benefits you enjoy ranging from credit card rates to shipping discounts.
Check your sales capacity before you pick a paid plan. If you can’t make up to $20,000 in sales per month, choose the basic Shopify plan. The plans are Basic Shopify, Shopify, and Advanced Shopify.
10. Prepare Your Store for Launching
To kick start your Shopify business, prepare your store for launch. Get all the necessary resources you need to effectively create, launch, plan, and manage your Shopify business. Link your domain name to your store.
Use Shopify’s analytics tool to track your sales, taxes, and profits. Add Shopify apps to your store to enjoy benefits such as budget calculation, social media advertising, and email marketing lists. Finally, make your store visible to all. Once again, don’t forget to disable your store’s password in the security section.
Conclusion
To start selling on Shopify, prepare yourself and choose a name for your brand. Then proceed to create a Shopify account for yourself, pick a theme, and customize your store. Also, personalize your store and add important pages to your website.
Add your products and create your listings. In addition, choose a paid plan. Finally, you’re ready to open your shop.


