


Do you want to take advantage of the growing population of online buyers using one of the most popular and trusted e-commerce platforms? Great move!
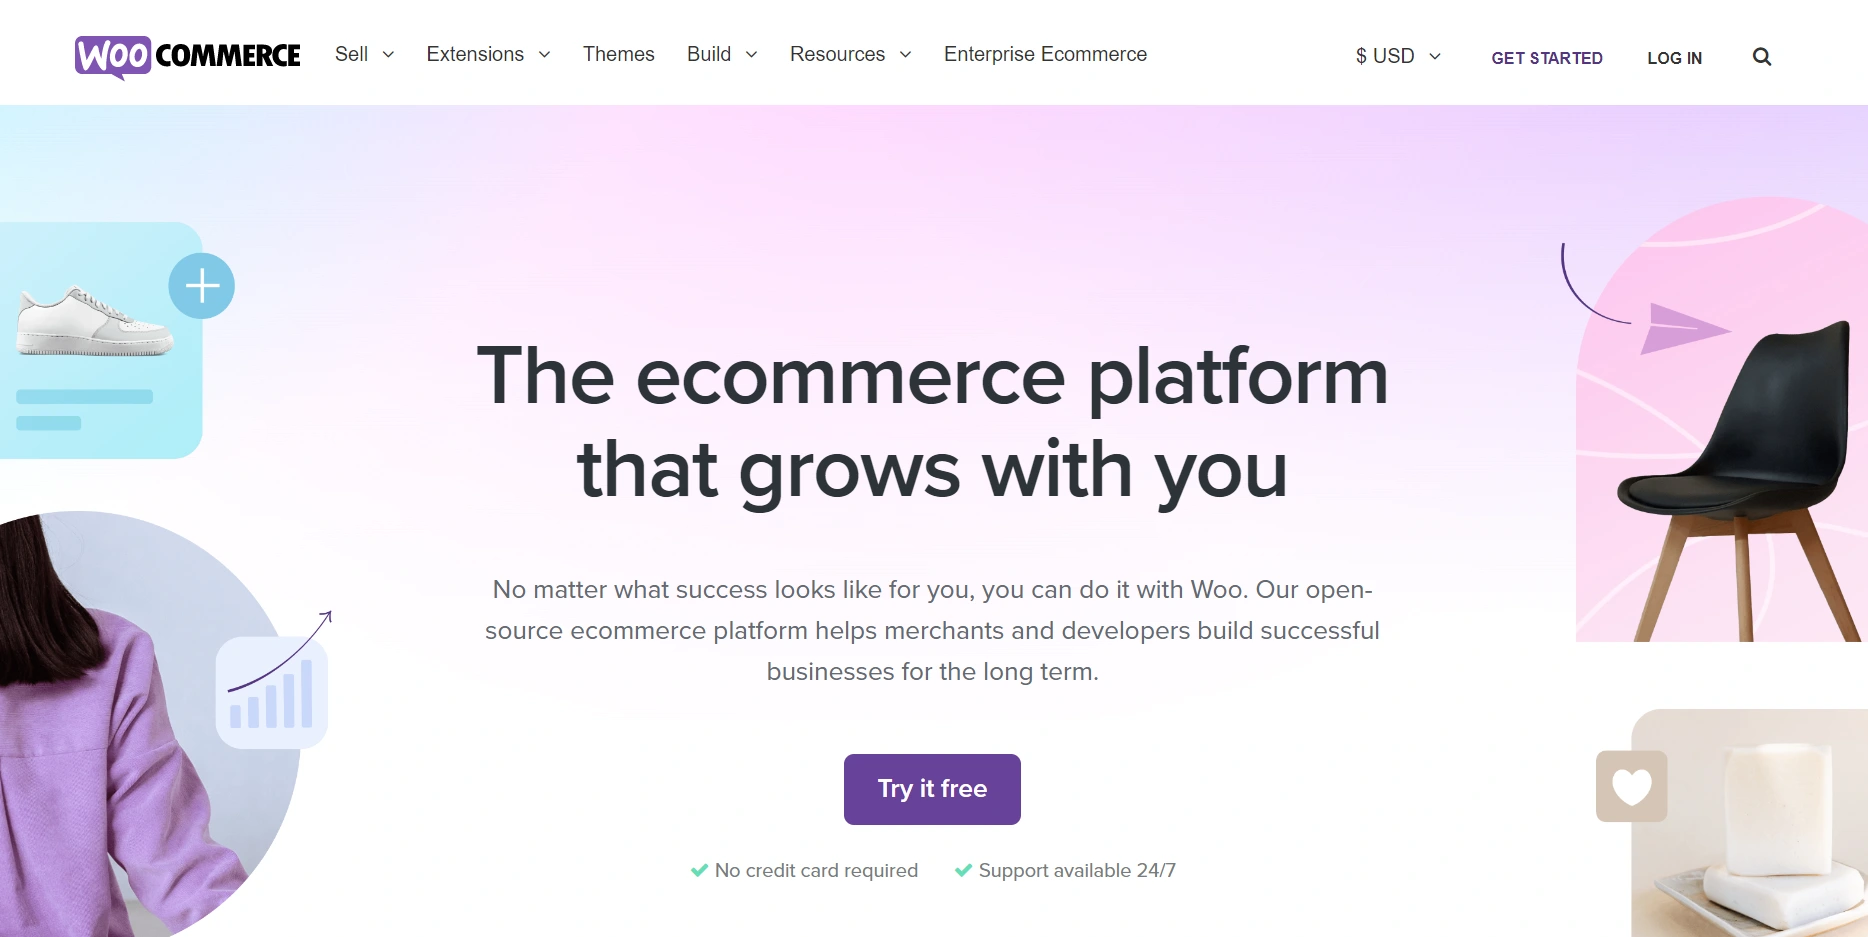
Woocommerce is a plugin for WordPress that allows you to create an online store. It’s a popular eCommerce platform that many small businesses use because it’s easy to set up and free. This article walks you through setting up your store on the popular Woocommerce platform.
- Decide what you’re going to sell.
- Set Up Your Woocommerce Store.
- Choose a Theme.
- Add Products.
- Set Up Payment Methods.
- Create Your Shipping Policies.
- Manage Your Orders and Customers.
- Grow Your Business.
Let’s get into the details.
1. Determine What You're Going to Sell
To start a Woocommerce online store, determine what you will sell. It could be anything from clothing and accessories to furniture and home decor, to electronics and appliances.
The best way to figure this out is to think about what you’re good at, what you’re passionate about, or what you’re knowledgeable about. Please do your research and see what’s selling well online, and then narrow it down from there.
The great thing about Woocommerce is that there are no limits to what you can sell. So don’t be afraid to think outside the box and explore all of your options.
2. Set Up Your Woocommerce Store
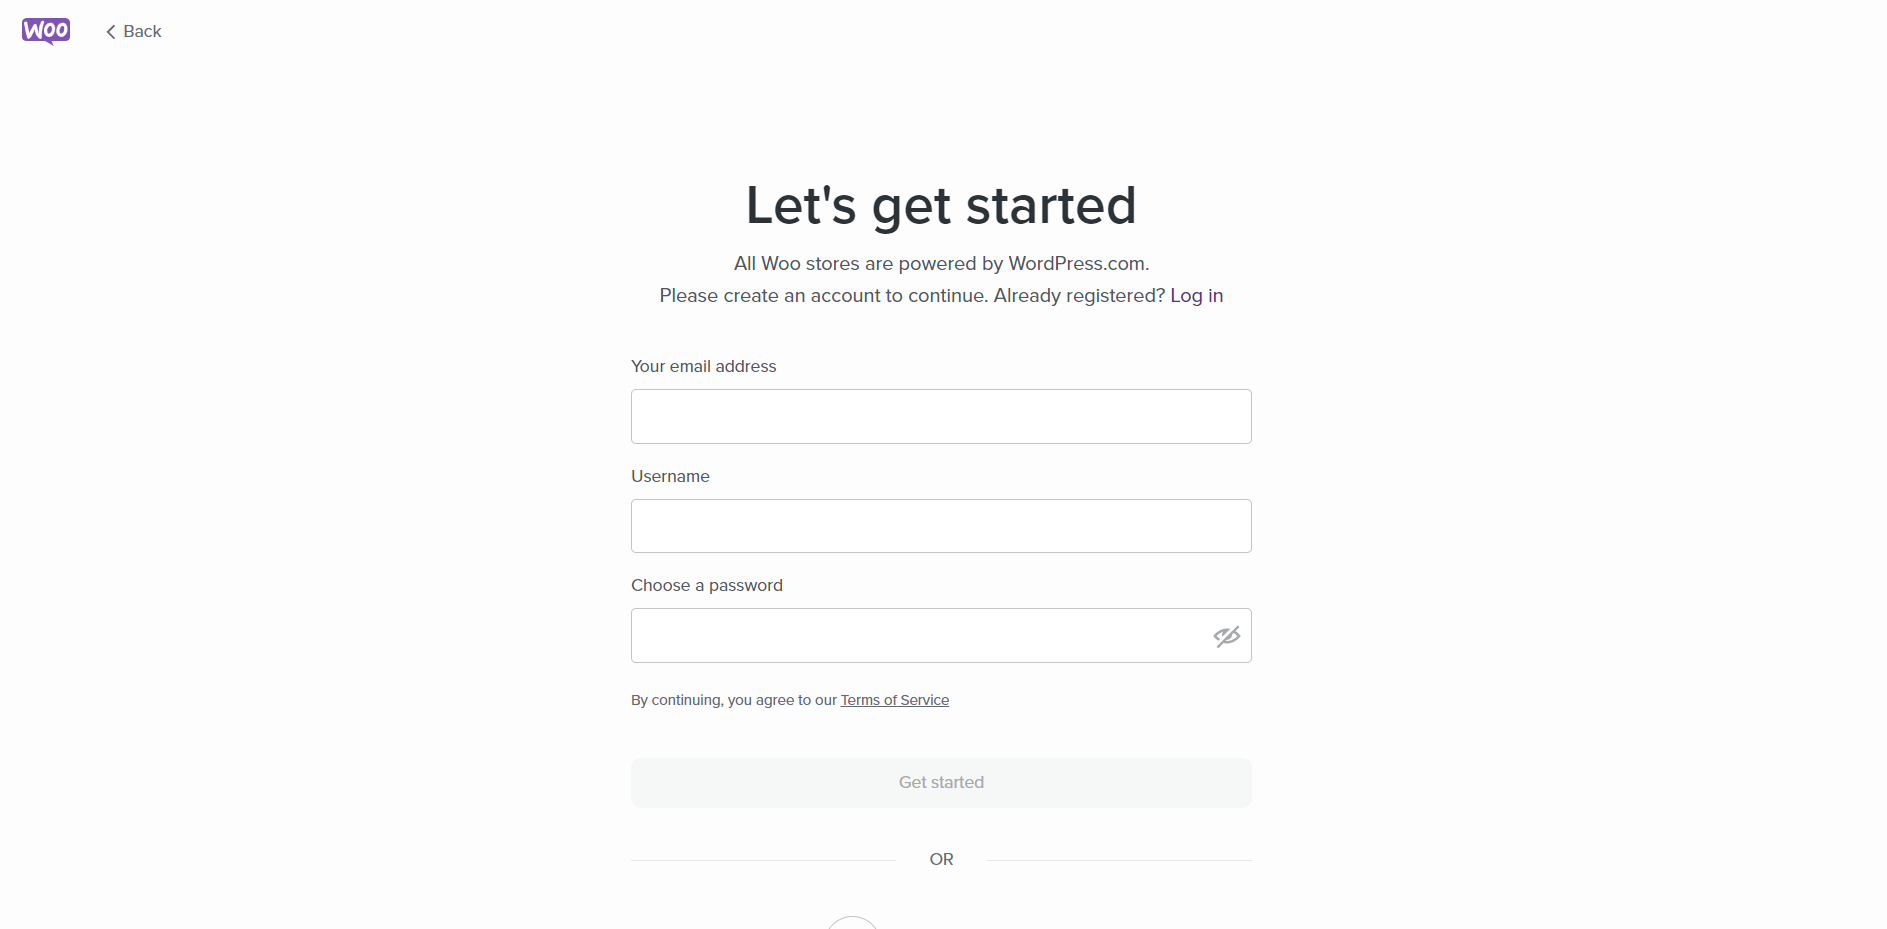
You’re ready to start your online store! Let’s walk through the steps to set it up.
- Register for a Woocommerce account.
- Choose a domain name for your store.
- Select a hosting plan.
- Install Woocommerce on your hosting account.
- Choose a theme for your store.
- Add products to your store.
- Set up payment processing.
- Configure shipping settings.”
3. Choose a Theme
Now it’s time to choose a theme. When you’re looking for a theme, go for one that is responsive—one that will look good no matter what device it’s viewed on. Also, ensure the theme is visually appealing and easy to navigate.
There are plenty of themes to choose from, both free and premium. Take your time and browse until you find one perfect for your store.
4. Add Your Products
To start a Woocommerce online store, add your products. The first step is to create a new product. To do this, go to Products → Add New.
Enter the following information:
– Product Name: This is the name of your product.
– SKU: This is a unique identifier for your product.
– Description: This is where you’ll describe your product.
– Category: Select the category your product belongs to.
– Tags: Add keywords that describe your product.
– Price: Enter the price of your product.
– Weight: Enter the weight of your product.
– Dimensions: Enter the dimensions of your product.
– Images: Upload an image of your product.
After adding all the information, click Publish.
5. Configure Your Shipping
Once you’ve decided on your products and set up your shipping, it’s time to configure your store settings. Your setting is where you decide on your store’s branding, colors, and settings.
To start, add your company information, including your business name, address, and contact information. Also, decide on a payment method and set up your shipping rates.
Woocommerce offers several shipping options, so you can choose the one that best suits your business. You can either charge a fixed rate for all orders or set up shipping rates based on the weight or size of the order.
You can also offer free shipping on all orders over a certain amount. So take some time to explore all of WooCommerce’s shipping options and find the one that works best for you.
6. Set Up Payment Methods
The next step is to set up your payment methods. It is where you’ll need to decide which of the following payment gateways you want to use—PayPal, Stripe, Authorize.net or…2Checkout.
Each gateway has advantages and disadvantages, so decide which one is right for you. For example, PayPal is a well-known and trusted gateway, but it can be expensive for small businesses. A stripe is a good option for starting businesses, as there are no monthly fees, and you only pay when you make a sale.
Authorize.net is another popular choice, and it offers a wide range of features, such as fraud protection and the ability to accept payments from various currencies. 2Checkout is great for businesses that want to sell products internationally, as it supports over 200 currencies.
7. Consider Additional Plugins
Now that you have the basics in place, it’s time to consider some additional plugins you might need.
There are a few essential plugins that you’ll want to install:
- A plugin for managing your products
- A plugin for managing your orders
- A plugin for managing your customers
But you might also need some plugins for specific features, like a plugin for calculating shipping rates or a plugin for managing taxes.
The great thing about Woocommerce is that there’s a plugin for everything, so you can customize your store to meet your unique needs. So take some time researching the available plugins and choose the ones that will work best for you.
8. Launch Your Store
You’re ready to launch your store! And here is the exciting part: all your hard work comes together, and your business takes flight. But before you can open your virtual doors to the world, there are a few things you need to do.
Here’s a checklist of what you need to do before launch:
- Set up your domain and hosting.
- Install Woocommerce and configure it for your store.
- Create your products and categories.
- Create a shipping plan.
- Set up your payment methods.
- Configure your tax settings.
- Write your store policies.
- Launch your store!
Conclusion
Congratulations on deciding to start your online store! Woocommerce is a great platform, and it’s easy to start. First, determine what you’re going to sell, then set up your online store. Follow these eight simple steps, and you’ll be on your way to a successful online business.
Afterward, choose a theme, add your products, set up payment methods, consider additional plugins and go ahead to launch your store.