


Do you want to set up shipping in Shopify like a pro? If yes, this article is for you!
Shopify shipping can be the foundation upon which you can build your Shopify store’s success. Customers love Shopify stores that deliver a stellar shipping experience—don’t they?
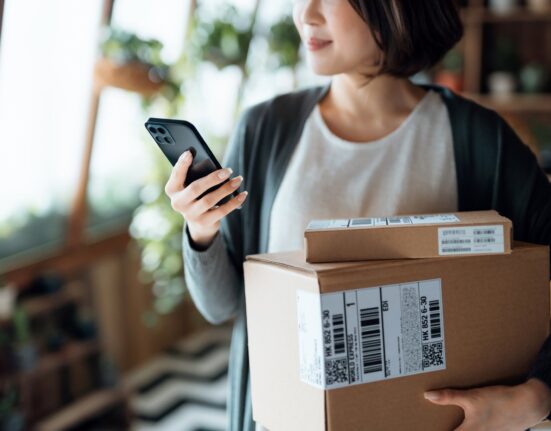
But hold on! What exactly is shipping—especially in the context of dropshipping, which every ecommerce entrepreneur is doing these days?
Shipping in a dropshipping context means a customer places an order and pays for a product or service through your store. You—the dropshipper—sends the order to a manufacturer (the dropshipping supplier) who, after receiving payment (hopefully a discounted price) from you, ships the product to the final customer.
But before you do anything, gather all relevant information, make sure you have the appropriate budget, and familiarize yourself with the basic steps you need to ship through Shopify.
To set up shipping in Shopify:
- Understand Shipping in Shopify
- Create Your Shipping Profiles
- Add Your Shipping Location
- Set up Your Shipping Zones
- Set up Your Shipping Rates
Alternatively: - Hire a Specialist
Ready? Let’s dive in!
1. Understand Shipping in Shopify
To set up shipping in Shopify, understand what the business entails.
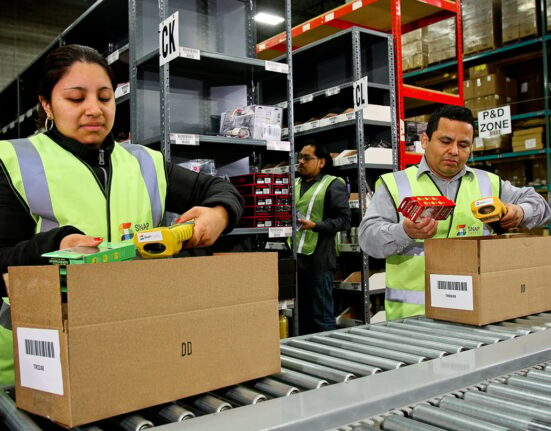
With shipping in Shopify, you buy and print various shipping labels—tags identifying the recipient of the package, through proper channels—from your Shopify store.
This process enables you to sell products without storing or shipping them to customers. Also, the manufacturer takes care of shipping and delivery—after receiving your order along with payment.
So simple, right? Not so fast. Have specific settings in place and do some tweaking to set up shipping in your Shopify store.
2. Add Your Shipping Locations
To set up shipping in Shopify, add shipping locations to your Shopify store. Clarify where you want to ship orders. Shopify gives you a variety of options, depending on your plan.
Pay attention to these four plans:
o Lite Plan: This allows up to 3 shipping locations.
o Basic plan: This allows up to 4 shipping locations.
o Advanced plan: This allows up to 8 shipping locations.
o Shopify Plus: This allows up to 20 shipping locations.
Choose whatever plan works best for you and add the correct shipping locations during the registration process.
To add shipping locations to your Shopify store:
o Log into your Shopify store.
o Click “Settings.”
o Select “Location.”
o Click “Add location.”
o Type in the name and address of the shipping location. Avoid mistakes.
o Tick the little box below the “Location” name—it enables you to fulfill online orders from this location.
o Click “Finish.”
That’s it.
Meanwhile, you can update/remove existing shipping locations on your Shopify account. To do so:
o Click “Settings” from your Admin Dashboard.
o Select “Shipping and Delivery.”
o Click “Manage” close to your shipping profile.
o Click “Show details” in the “Shipping from” command.
o Choose a location you want to remove and click “Manage.”
o Select the “Remove Rates” option.
o Click “Done.”
o Click “Save.”
3. Create Your Shipping Profiles
To set up shipping in Shopify, build your shipping profiles. Choose between “general” or “custom” shipping profiles—your call.
o General shipping profiles come with a single profile containing general rates.
o Custom shipping profiles allow you to charge unique rates for specific products, depending on your location.
Choose whatever option fits your plan.
Shopify allows you to create up to 10 shipping profiles with multiple locations.
To create shipping profiles for your store:
o Log into your Shopify store.
o Click “Settings.”
o Select “Shipping and Delivery from the dropdown menu.
o Find and choose “Custom Shipping Rates.”
o Click “Create New Profile.”
o Input your desired profile name.
o Add products to your profile using the “Products” section.
o Cross-check your locations for necessary adjustments.
4. Set Your Shipping Zones
To set up shipping in Shopify, set your zones properly so you can push for effective shipping. Shipping zones are groups of countries or regions that have matching shipping rates.
Factor all your locations with matching shipping rates and create custom shipping zones for each.
To create custom shipping zones:
o Log into your Shopify store.
o Click “Setting” on your dashboard.
o Choose “Shipping & Delivery” from the menu.
o Click “Manage Rates” on the desired shipping profile to include the shipping zone.
o Click “Create Shipping Zone.”
o Enter a shipping zone name.
o Include the countries or regions in your zone.
o Click “Done.”
o Add rates to the zone and click “Save.”
You are set!
5. Set Your Shipping Rates
To set up shipping in Shopify, set your shipping rates. Make sure you set up your shipping profile and zone before setting shipping rates, so that you can choose different shipping rates for different profiles.
Pay attention to these four types of shipping rates:
o Calculated Shipping Rates: You charge a customer the same shipping amount your shipping label charges.
o Discount Calculated Rates: You provide a percentage discount on shipping rates to attract customers.
o Flat Shipping Rates: You charge customers a definite fee for shipping at checkout.
o Free shipping rates: Your prices include no shipping cost.
Include the four shipping rates in your store—they may come in handy.
To set up Calculated Shipping Rates:
o Log into your Shopify store.
o Locate and click “Settings.”
o Select “Shipping & Delivery” from the menu.
o Choose your desired shipping profile.
o Click “Manage Rates.”
o Click “Add Rate” next to your desired shipping zone.
o Check the “User carrier or app to calculate rates” option.
o Select your desired shipping service to include your rates.
o Choose a shipping method.
o Click “Save.”
To set up Discount Calculated Rates:
o Go to your Shopify dashboard and click “Settings.”
o Select “Shipping & Delivery” from the menu.
o Choose your desired shipping profile.
o Click “Manage Rates.”
o Click “Edit Rates” from the drop-down menu.
o Go to the “Handling Fee” command and adjust your rate.
o Click “Done” and then click “Save.”
To set up Flat Shipping Rates:
o Log into your Shopify store.
o Click “Settings.”
o Select “Shipping & Delivery” from the menu.
o Select your desired shipping profile.
o Click “Manage Rates.”
o Click “Add Rate.”
o Click “Done and “Save.”
To set up Free Shipping Rates:
o Log into your Shopify store.
o Go to “Settings.”
o Select “Shipping & Delivery” from the menu.
o Choose your desired shipping profile.
o Click “Manage Rates.”
o Click “Add Rate” next to the shipping zone.
o Ensure that the cost field value is set at “0”.
o Click “Save.”
6. Hire a Specialist
To set up shipping in Shopify without necessarily doing it yourself, outsource the work to professional freelancers.
Use this method only if you don’t know a thing or two about computers and are in a haste to beat an urgent deadline.
Setting it up yourself gives you leverage over your store and helps you garner experiences. To hire a specialist, outsource freelancers such as Fiverr, Upwork, Freelancer and TopTal.
Recap
To set up shipping in Shopify, add your shipping location and generate your shipping profiles. Set up your shipping zones and rates appropriately. However, you may outsource a freelancer to help you set up shipping in Shopify—it’s up to you.