

So you want to sell on Poshmark, don’t you?
You want to become the next Poshmark millionaire, making money like crazy on a platform that’s growing by leaps and bounds every single day.
Well, the funny thing is, you’re not the only one having that dream. At this moment in time, you can be sure hundreds of thousands of ecommerce entrepreneurs are contemplating the same fantasy: Poshmark millionaire.
Poshmark, being a fashion-centric social marketplace, allows you to sell second-hand wear and accessories from your closet and retail shops.
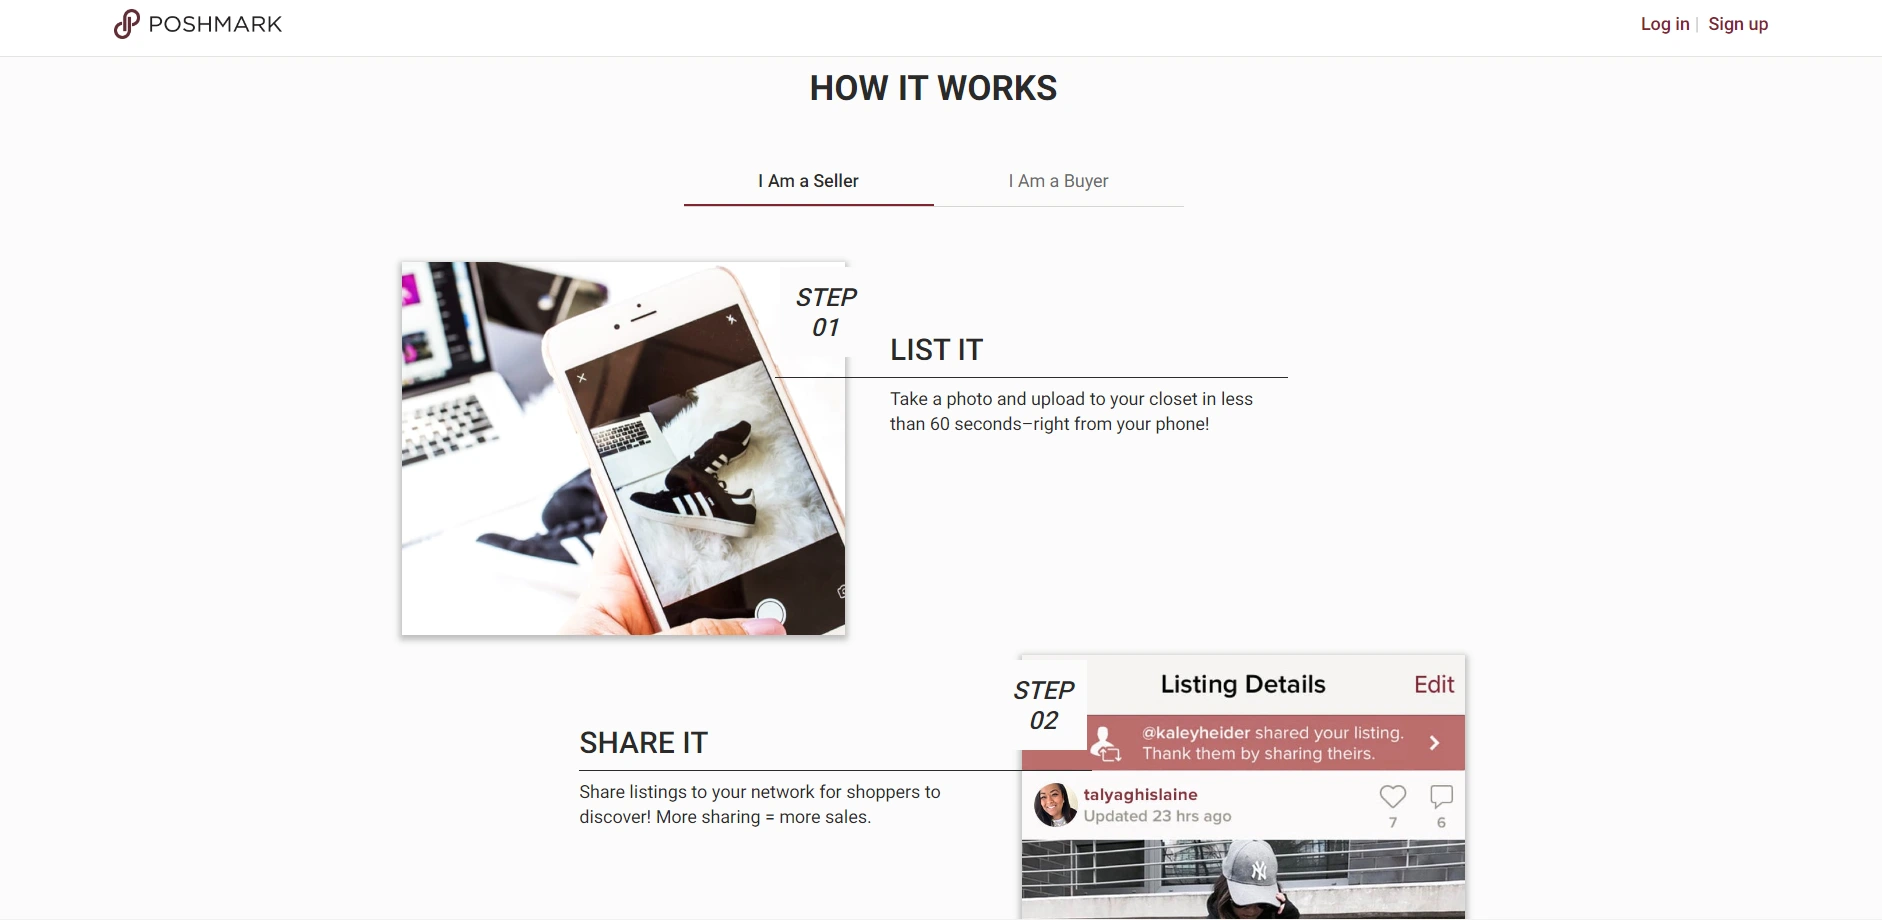
The process works like this:
- You snap and display a product on the Poshmark marketplace along with an enthralling description.
- An interested buyer sees the product and places an order, and
- You ship the item to the address provided through Poshmark’s shipping channel.
But hold on! It’s not that easy. There are metrics to it.
This article has everything you must know to sell on Poshmark—even if you don’t know a thing or two about the topic.
To sell on Poshmark as a beginner:
- Choose What to Sell
- Create a Poshmark Account
- Understand Poshmark Rules
- Familiarize Yourself With Things You Can’t Sell on the Platform
- Take Photos of Items for Sale
- Add a Compelling Product Title and Description
- Set Up Competitive Prices
- Set Up Shipping Labels
- Set Up a Payment Method
- Promote Your Business
Ready? Let’s begin!
1. Choose What to Sell
To effectively sell on Poshmark and make a fortune even as a beginner, choose what to sell.
Be certain of the kind of used items you’re going to sell. Avoid faulty items; this is bad for your business since customers will certainly write poor reviews about your offerings.
Don’t ship a product that stinks, is dirty, or wrinkled without proper preparation. This is bad for a long-term customer relationship.
Avoid counterfeit items. You may lose your business eventually.
2. Create a Poshmark Account
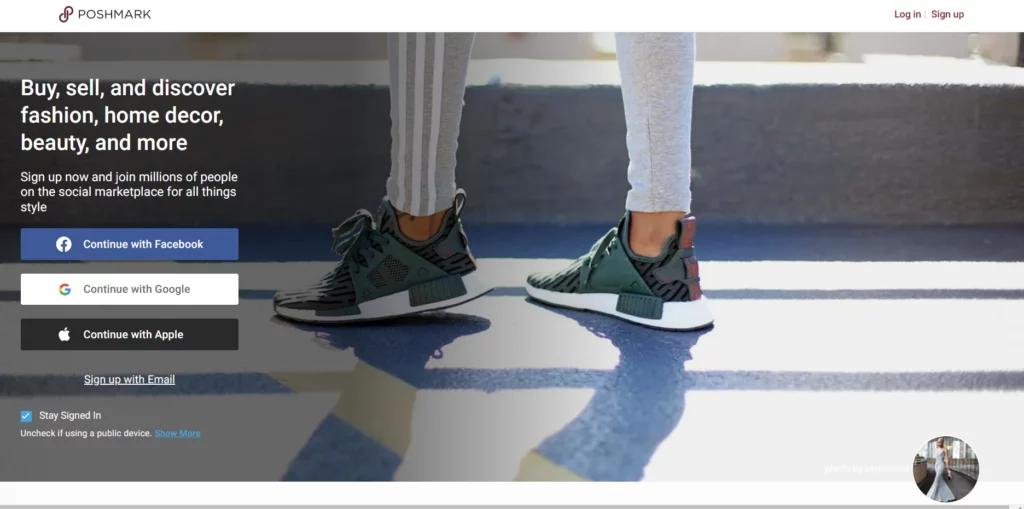
To sell on Poshmark even as a rookie, create a Poshmark account where you can later display your product listings and connect with shoppers.
Log in to Poshmark.com and begin your registration process. You can sign up fresh with your email and password or simply connect through your Facebook or Google.
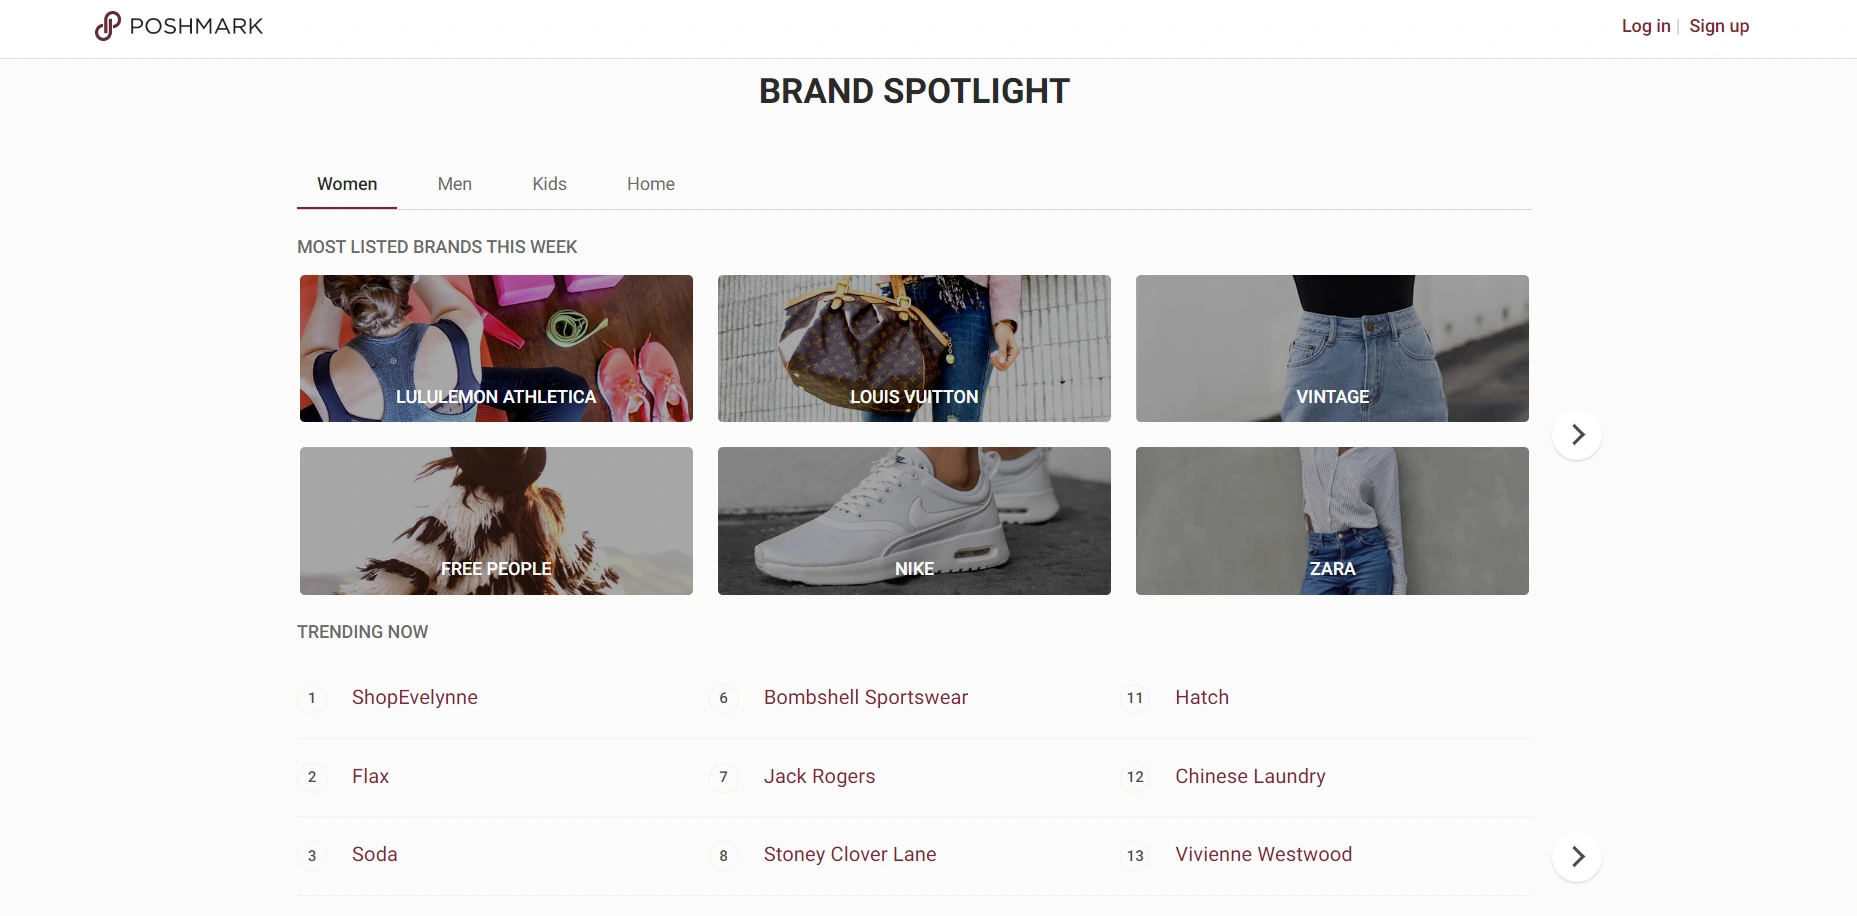
During registration, Posh requires you to choose three brands you’d like to work with so they can match you with sellers offering products from those brands.
Customize your profile to stand out and appeal to shoppers. Fill in personal details like gender and age, and upload an appropriate photo.
Also, include a short bio. Add your website links, including your ecommerce stores from other platforms.
You are set to make your product listings.
3. Understand Poshmark Rules
To sell on Poshmark like a pro and garner sales even as a greenhorn, understand Poshmark rules.
Poshmark prohibits multiple accounts if you don’t have the platform’s written consent to do so.
Don’t list anything that isn’t yours or that may violate any state or federal laws. Avoid stuff like stolen or confiscated goods. Make sure you own the right to products you sell on Poshmark.
You must pay taxes as a seller on Poshmark. Poshmark collects taxes from your sales and pays them to the government to fulfill regulatory requirements.
Maintain a healthy and happy environment while interacting with users.
Avoid any form of bullying, vulgarity, discrimination or racism—Poshmark forbids it.
Be trustworthy with what you sell. Make sure your products are exactly what you listed in your store.
Once you violate any of the rules above, Poshmark may send you a warning email or take a temporary or permanent adverse action against your account.
4. Familiarize Yourself With Things You Can’t Sell on the Platform
To sell on Poshmark even without any prior knowledge, familiarize yourself with things you can’t sell on the platform.
For starters, Poshmark only permits the following product categories: fashion, accessories, new personal care products, first-rate pet items, home goods and electronics.
Don’t sell counterfeits and illegal replicas of branded products—you’ll lose your Poshmark business and probably incur some legal charges. Verify the authenticity of products before listing them.
Note that Poshmark does not allow alcohol, perfume and nail polish—these are flammable items USPS shipment prohibits. Also, you can’t sell used underwear due to health and hygiene reasons.
Get used to these rules to keep your business on safe grounds.
5. Take Photos of Items for Sale
To effectively sell on Poshmark and laugh all the way to the bank even as a beginner, take photos of items you intend to sell.
Take high-quality and professional images to attract buyers to your listings. Pay attention to your cover photo since this is what your customers see first.
Take pictures in natural lighting—sunlight gives the best color and contrast you’d need.
Choose the right camera angles when taking your photos. Take your photos from multiple camera angles to give your buyers a good feel for what they’re buying.
Edit your photos in the right background—preferably, a white background would do. Use Poshmark’s app to do some editing on your photos, if you wish.
Adjust the sharpness, vibrance, brightness and contrast. Add filters and crop the pictures to eliminate any needless aspects of the photo.
You can add between 10 to 15 photos to each listing to fill your cover image.
6. Add a Compelling Product Title and Description
To sell like a pro on Poshmark and garner sales even as a neophyte, add compelling product titles and descriptions to attract sales.
Optimize your titles. Most shoppers search for particular items. Use the right keywords when coining your titles and descriptions to help your shop top search results.
Someone once said, “Good product titles and descriptions are amazing, but a compelling title and description brings sales.”
Pretty smart, right?
A rule of thumb: Keep your titles short. Your title should compel shoppers to want to learn more about the product. Poshmark allows up to 50 characters for your title. But why would you need that much? Keep your titles between 10 to 15 characters.
Avoid abbreviations and emojis. Keeping your titles and descriptions short doesn’t mean you use abbreviations and emojis.
Use appropriate fonts and a good color scheme that fits the item’s color and style. Increase your font size and use appropriate color contrast to make it readable.
Include in your description everything from the brand name and item name to the size, style and color.
Also, specify whether the item is new with tags (NWT) or new without tags (NWOT). Include where the item was produced, materials for fabrics used in its production, and instructions for washing.
These help shoppers have a fuller grasp of what you sell.
7. Set Up Competitive Prices
To sell like crazy on Poshmark even as a newbie, set up competitive prices to attract buyers. Everyone wants a juicy offer, right? So give them one.
Note that Poshmark takes a $3 flat commission on sales under $15 and a 20% commission on sales worth $15 or more. Keep these in mind when determining your product price.
Research other brand prices to know where to set yours. Search for similar items on the app and see how much they have sold—this gives you a benchmark on where to “place” your product prices.
Your listing’s price largely depends on the item’s condition and original price.
Get inspiration from the product’s original price to set your listing price. Search online to get the original price of the product. Once you fill in a price, press the “List It” button on the Poshmark app to publish your listing.
8. Set Up Shipping Labels
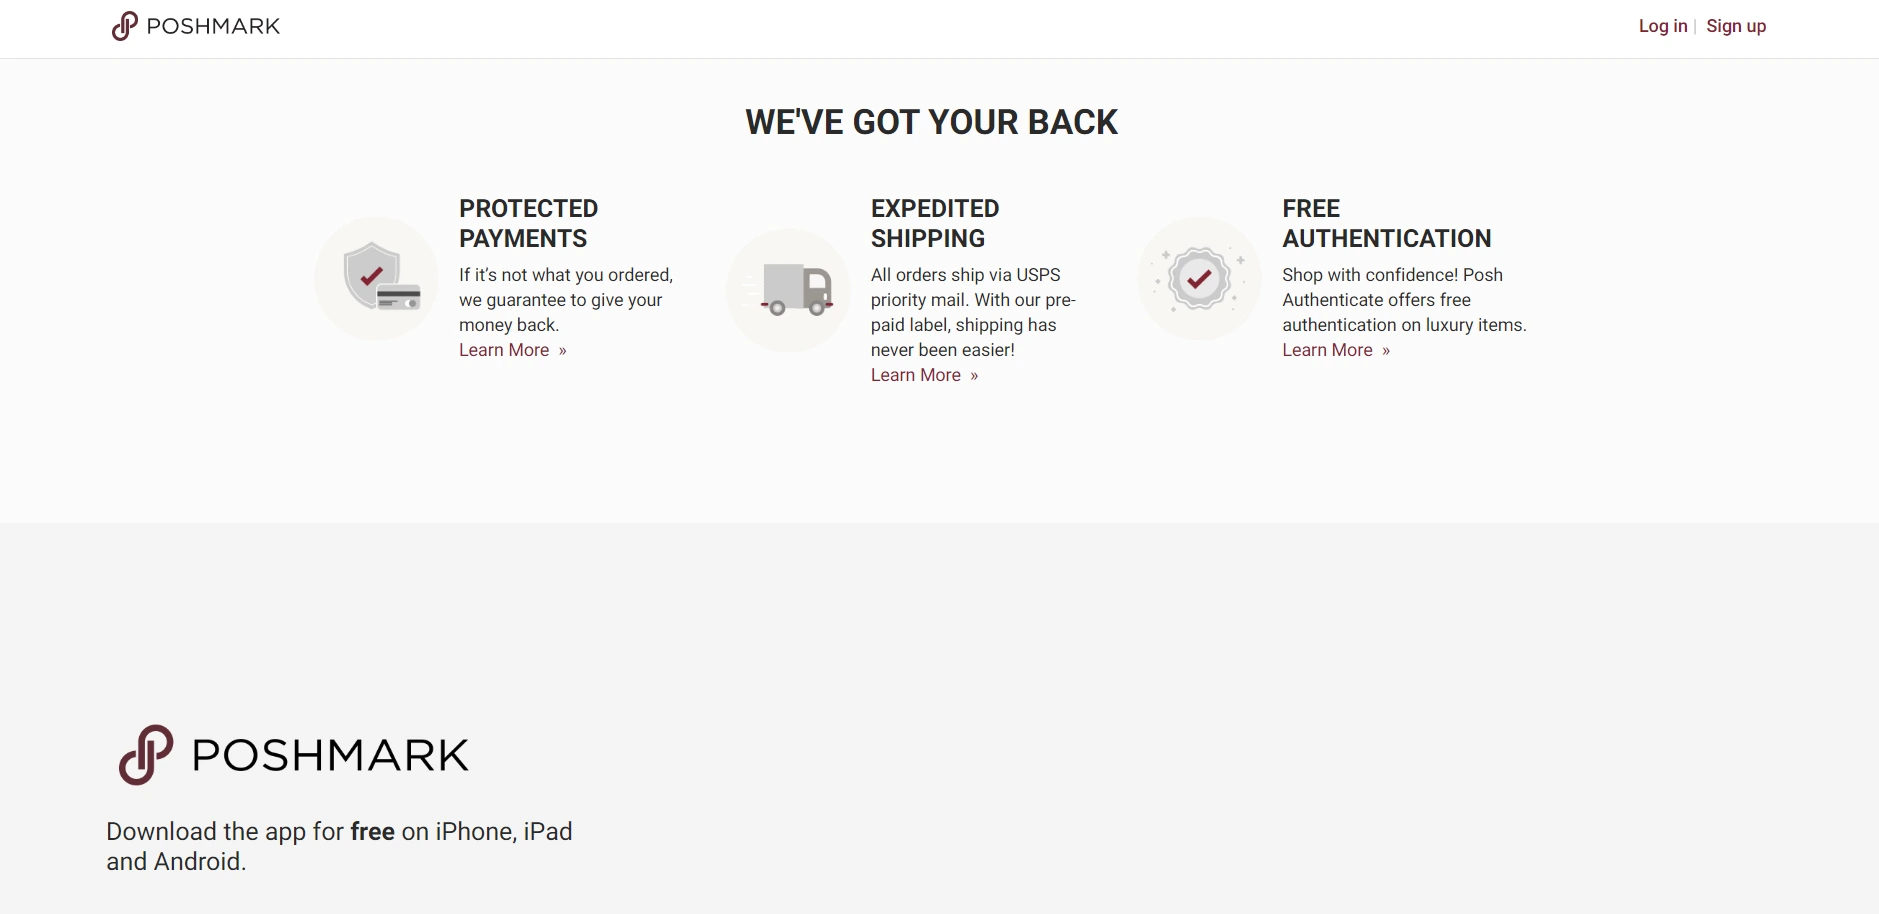
To sell on Poshmark like a pro, set up shipping labels so that Poshmark can use Priority Mail to ship products to your customers.
You can get a lot of Priority Mailing supplies for free from the USPS if the package is lighter than 5.1 lbs.
However, Poshmark also allows you to send packages that are heavier than 5.1 Ibs. But this comes with a fee above the standard shipping fee your buyer paid.
To upgrade your shipping label to send products above 5.1 Ibs:
- Open your app, go to the “My Sales” section, and choose the order that requires a label upgrade.
- Hit “Need New Shipping Label.”
- Choose “Need Heavier Weight Label.”
- Select weight and input your desired weight for the label.
- Hit “Next” and “Send New Label.”
These actions send the new label to your email.
Pay attention to some steps in order to ship items to buyers whenever they make payments.
To ship your items to the buyer’s address:
- Check your email account for a sale confirmation email. You’ll find a pre-paid, pre-addressed shipping label to print out for your package. Note that the buyer takes care of the payment for the postage—usually called USPS Priority Mail.
- Use the appropriate box for packaging items. Poshmark comes with a free USPS box.
- Drop your packaged item at the nearest post office for delivery.
9. Set Up a Payment Method
To effectively sell on Poshmark like a maven, set up a payment method to enable you to receive payments on sales.
Poshmark, by default, deposits your earnings into your Poshmark account once a shopper receives your package and accepts the item. Usually, Poshmark gives the shopper three days to accept the item, after which you get your funds deposited into your Poshmark wallet.
To redeem your earnings from a web browser:
- Log in to your Poshmark account and click on your profile picture at the top-right of the page.
- Choose “Order Activity.”
- Select “My Balance.”
- Choose “Direct Deposit” to receive a confirmation code.
- Fill in your bank details for a direct deposit.
Alternatively, you can redeem your earnings from the Poshmark app.
To redeem your earnings from the Poshmark app:
- Open the app and go to the “My Poshmark” tab.
- Under the “Seller Overview,” select “My Balance.”
- Click on “Redeemable.”
- Choose “Bank Direct Deposit” to receive a confirmation code.
- Input the verification code on the onscreen box.
- Enter your bank details for a direct deposit.
10. Promote Your Business
To boost sales on Poshmark, no matter your experience level, promote your business in relevant spots to gain more exposure.
Attend Posh Parties and share your products there. These are real-time virtual events hosted by Poshmark at different times of the day. Poshmark displays a specific product category and has buyers purchase or share the listed items. This allows you to build and expand a solid base of followers.
Also, send offers to visitors who like your products. Poshmark allows people to like your products—often referred to as “Likers.”
Pick a listing from your Poshmark closet and click “Offer/Price Drop” from your listing page. Choose “Offer to Likers,” lower your price by 5% or 10% and choose a shipping discount. Hit the “Publish” button and Poshmark delivers your offers to your likers.
Leverage your social media presence. Use your social media accounts—Facebook, Instagram, Pinterest, and YouTube—to toot your own horn.
Recap
To sell like a pro on Poshmark and pull sales even as a beginner, be choosy about what you sell and create a Poshmark account.
Understand Poshmark rules and familiarize yourself with things you can’t sell on the platform. This keeps your business in good condition.
Take pictures of items for sale and add compelling product titles and descriptions.
Set up shipping labels to enable you to enjoy the free shipping benefits that come with Priority Mail. Add a payment method to receive payments from sales.
Finally, promote your business so you can reach a wider audience.
Good luck!